Write and Build hello program
This is a step by step page which teaches how to compile a hello program using Turbo C++ . If you dodn't know how to write a program at Turbo C++,this page will teacher you fast to code a simple program.Before virw this page ,please install Turbo C++ .You can
g
o to the Borland web site to download free Turbo C++ compiler
Step 1: Open the MS-DOS command prompt window
NOTE: You must close the original MS-DOS command prompt window first.
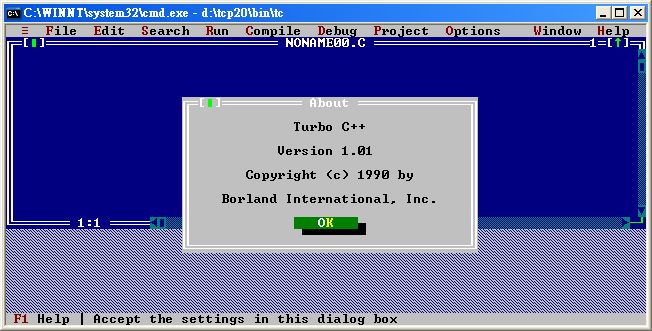
Step 2: Type tc and Press <ENTER> in any location to run the TC++ 1.01 Integrated Environment. This command can be executed from any location.
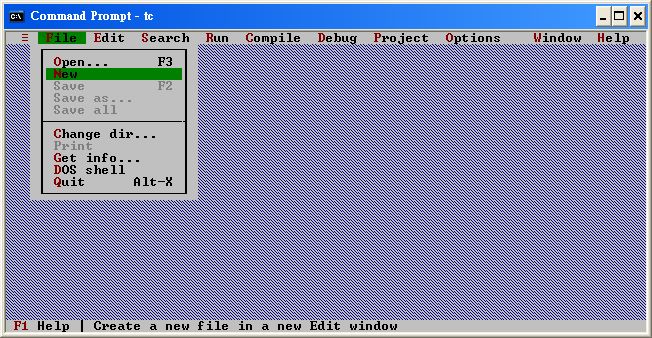
Step 3: Create a source file (*.c).
Step 3.1: Select New from the File menu.
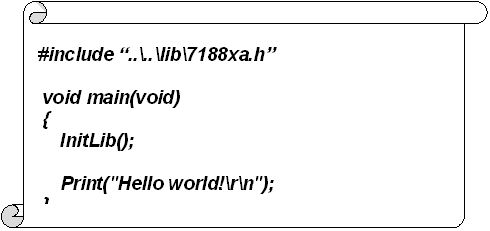
Step 3.2: Type in following code. Note that the code is case-sensitive..
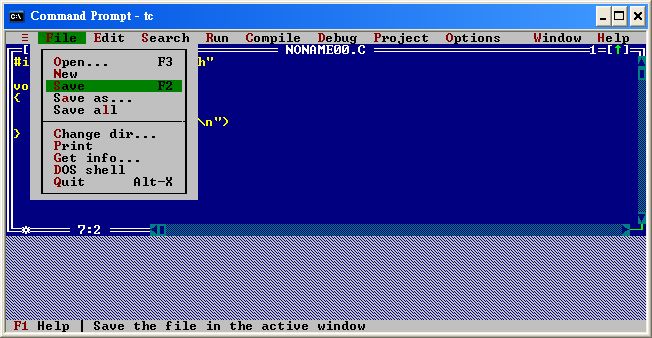
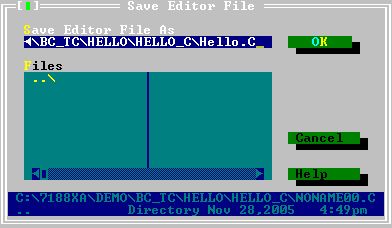
Step 3.3: Save the file by selecting Save from the File menu, and then enter the file name Hello.C.
Note: If you have a text editor you are familiar with, you may use it
to type in the above code. It should be noted that you cannot use
a word processor application for this, as you must use an
application that saves in plain text, such as notepad or edit. C
language program files should always be given a name ending in
“.C”.
Step
4: Create a new project file (*.prj).
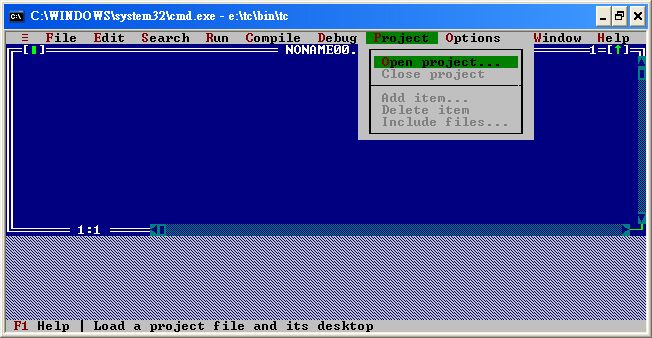
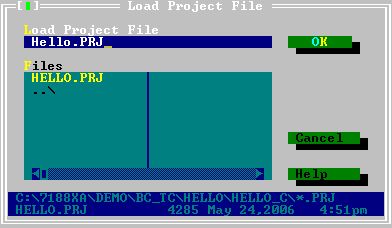
Step
4.1: Type the name of the project file and then click the OK button.
Step
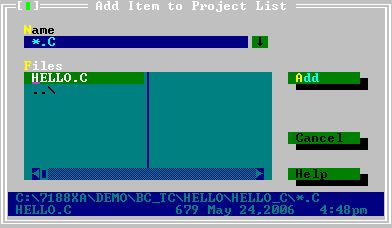
5: Add all necessary files to the project.
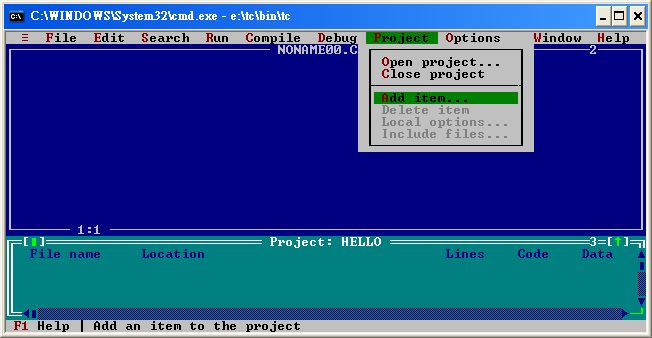
Step
5.1: Select the source file and then click the Add button.
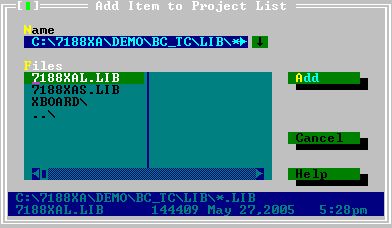
Step
5.2: Select the function library and then click the Add button.
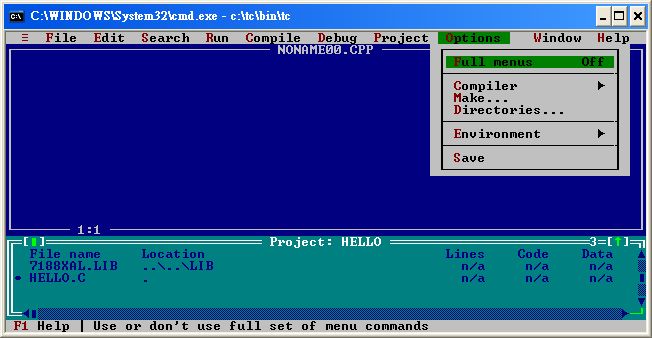
Step
6: Click on “Options” and select full menus.
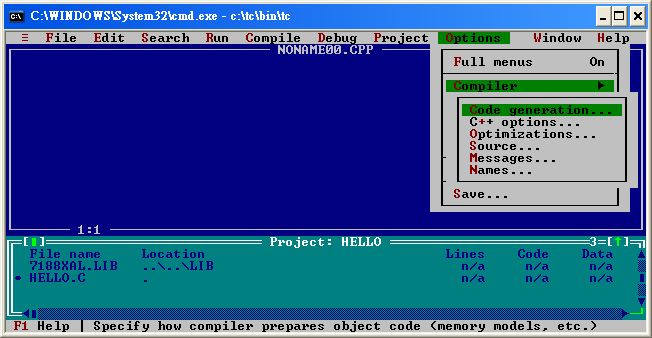
Step
7: Click on “Options” and select the compile
menu item, then set the Code generation options.
Step
7.1: Change the Memory model.
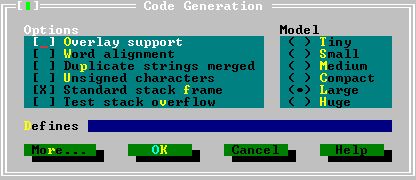
Step
7.2: Click on “More…”, then set the
Floating Point to Emulation and the Instruction Set to 80186.
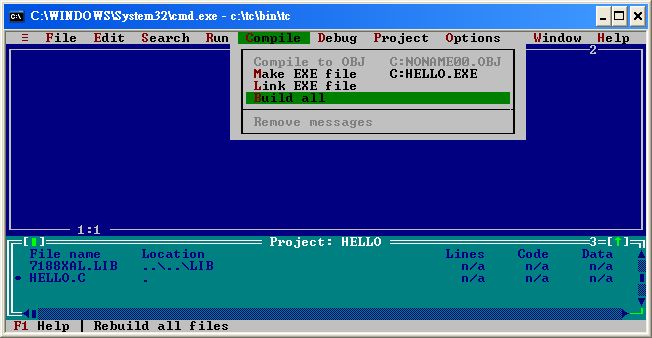
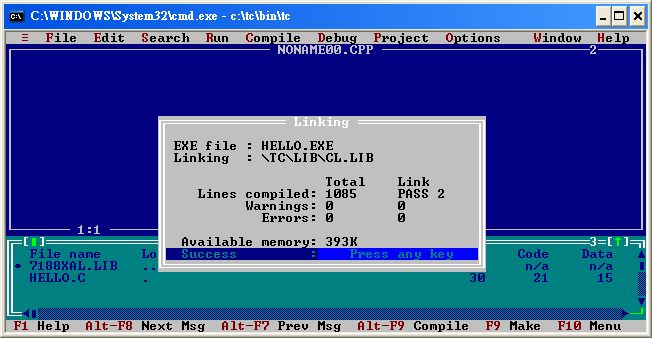
Step
8: Click on “Compile” and select “Build
all” to make the project.
For
instructions related to the downloading and execution of
programs,
Note:refer to Load your program (exe file and autoexec.bat) to controller to get how to execute .exe file on 8000 controller
|
